
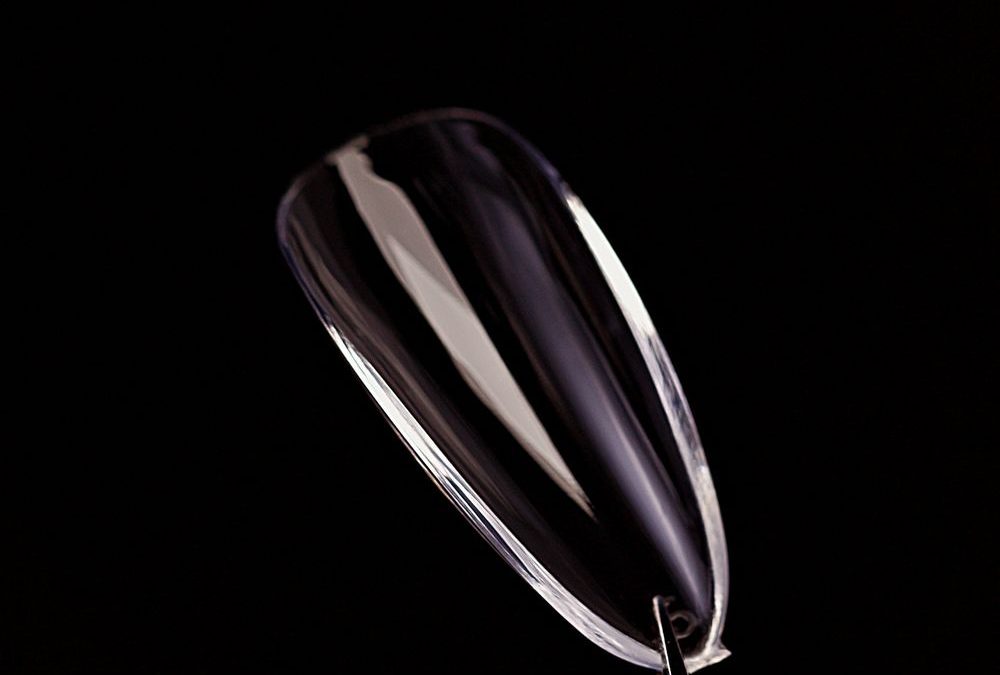
Quick answer: for the Natural Almond (Medium) clear full-cover soft-gel tips we prefer a two-pronged approach that uses proper nail-bed prep, a strong thin-bonding glue or a gel-bond technique with a non-wipe builder, and a light primer—this combination reliably reduces lifting while keeping the glossy, clear almond extensions looking seamless.
Why precise prep matters for clear full-cover almond tips
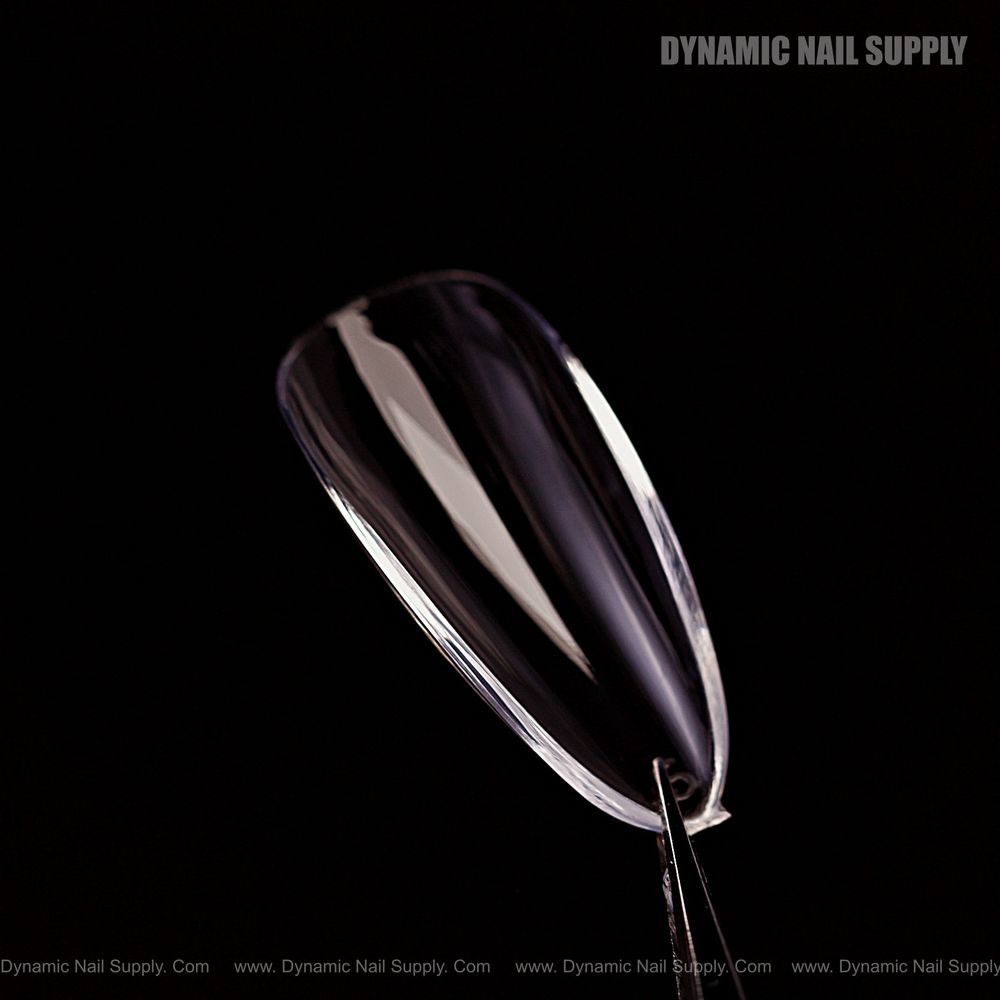
When you work from home and run a small bridal-focused nail business, every set must look immaculate and last through events. The Natural Almond (Medium) clear tips arrive in a translucent soft-pink compartment box that keeps 15 separate sizes organized, which speeds sizing in a tight workspace. But a tidy box does not replace a controlled prep routine: the glossy, transparent tips reveal any gap, bubble, or lifting far more readily than opaque materials, so our prep establishes the thin, even contact surface that any adhesive for soft-gel tips needs to bond well.
What adhesives and bonding methods we use
We compare three practical options chosen for salon and home use: thin cyanoacrylate nail glue, gel-bonding with an extend or all-in-one gel, and using primer with glue. Each has trade-offs in speed, retention, and removal ease, and each pairs differently with a glossy, clear full-cover tip.
Glue-on (thin nail glue)
- Best for same-day appointments where speed matters; thin glues seat quickly and cure fast.
- Apply a small bead to the underside of the tip, spread thinly toward the edge, and seat at a 45° angle—press forward to evacuate air.
- Thin glue minimizes visible seams beneath the clear tip and reduces bubble risk when applied as a thin even layer.
Gel-bonding (soft-gel or builder gel)
- We favor a light layer of a thin, non-wipe builder or a 6-in-1 tip gel on the underside of the tip, then flash and full cure under LED—this method gives a flexible, stress-diffusing joint that suits the soft-gel material better than rigid glue.
- When cured properly this technique improves retention for clients who need longer wear, and it pairs well with the clear glossy finish of the tip because it avoids opaque glue lines.
Primer plus adhesive
- Use a dehydrator then a mild acid-free primer when natural nail oil or surface inconsistency is present; follow with either thin glue or gel. Primer increases bond on weak or oily beds but should be used sparingly to avoid over-drying.
When to choose each option in a home salon workflow
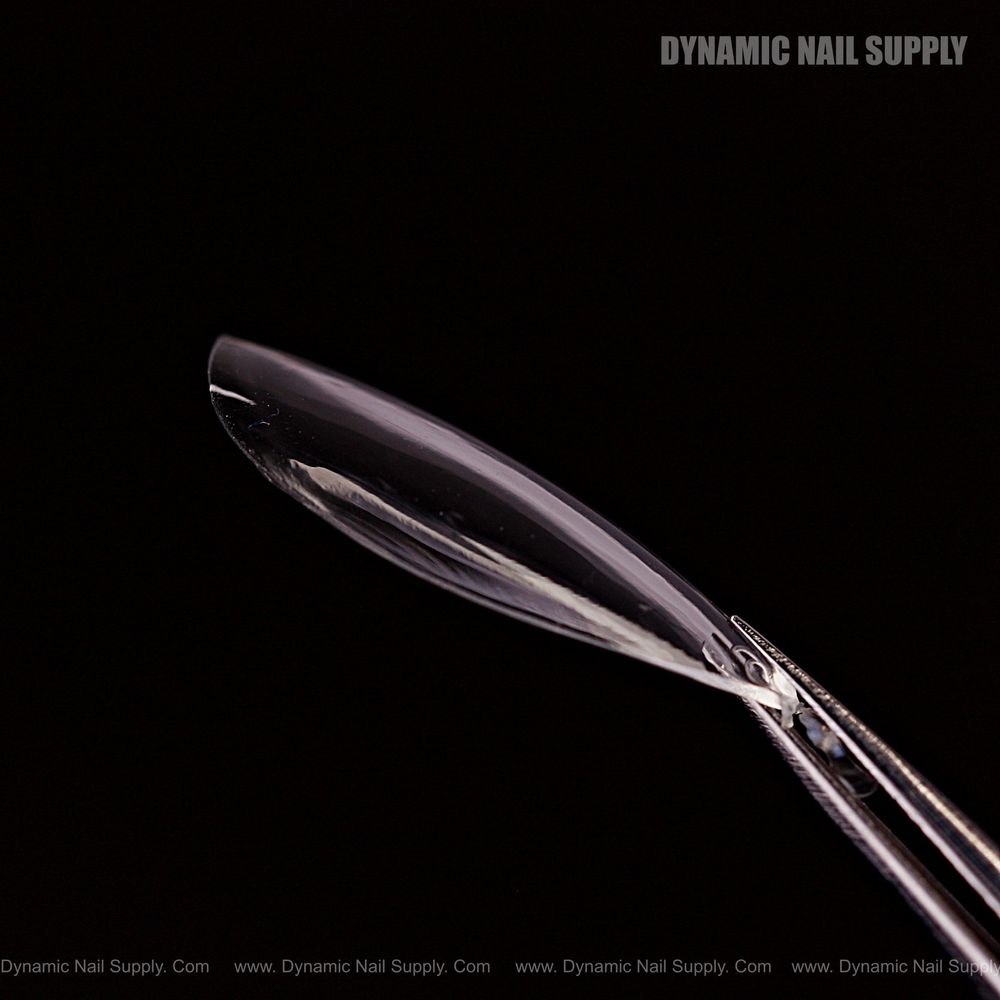
Choose thin glue for quick, small-event sets, or where multiple clients require fast turnarounds. Use gel-bonding when a client books for 2–4 weeks of wear, especially for brides who need extra insurance during a weekend of events. Apply primer if you observe oiliness, surface residue after cleansing, or if a previous lifting history exists. We always advise matching your curing schedule, layer thickness, and product viscosity to the chosen method—this is especially true with clear tips because imperfections are visible through the material.
Step-by-step application for optimal retention
- Assess and size: Match each nail to the pre-numbered sizes from the pink compartment box, choosing the nearest size that sits without edge gaps.
- Prep the natural nail: Gently file the free edge, buff the nail plate to remove shine using 180 grit, and cleanse thoroughly with a lint-free wipe and dehydrator.
- Primer decision: If the nail surface is oily or lifts have occurred before, apply a thin layer of primer; otherwise skip to bonding to avoid over-drying the nail plate.
- Underside prep: Lightly buff the inside of the tip where the gel or glue will sit—this increases surface area for adhesion without damaging the tip shape.
- Bonding application: For thin glue: place a fine bead, spread toward the edge, seat at 45°, and hold briefly to evacuate air. For gel-bond: apply a thin layer of tip gel to the underside, position, flash cure while holding, then full cure 30 seconds under LED for the whole hand.
- Finish and shape: Trim and refine the length, blend the seam if required using light filing, then continue with color or topcoat. For extended retention, use a high-quality shiny topcoat and avoid heavy buffing directly on the seam.
Safety and handling notes
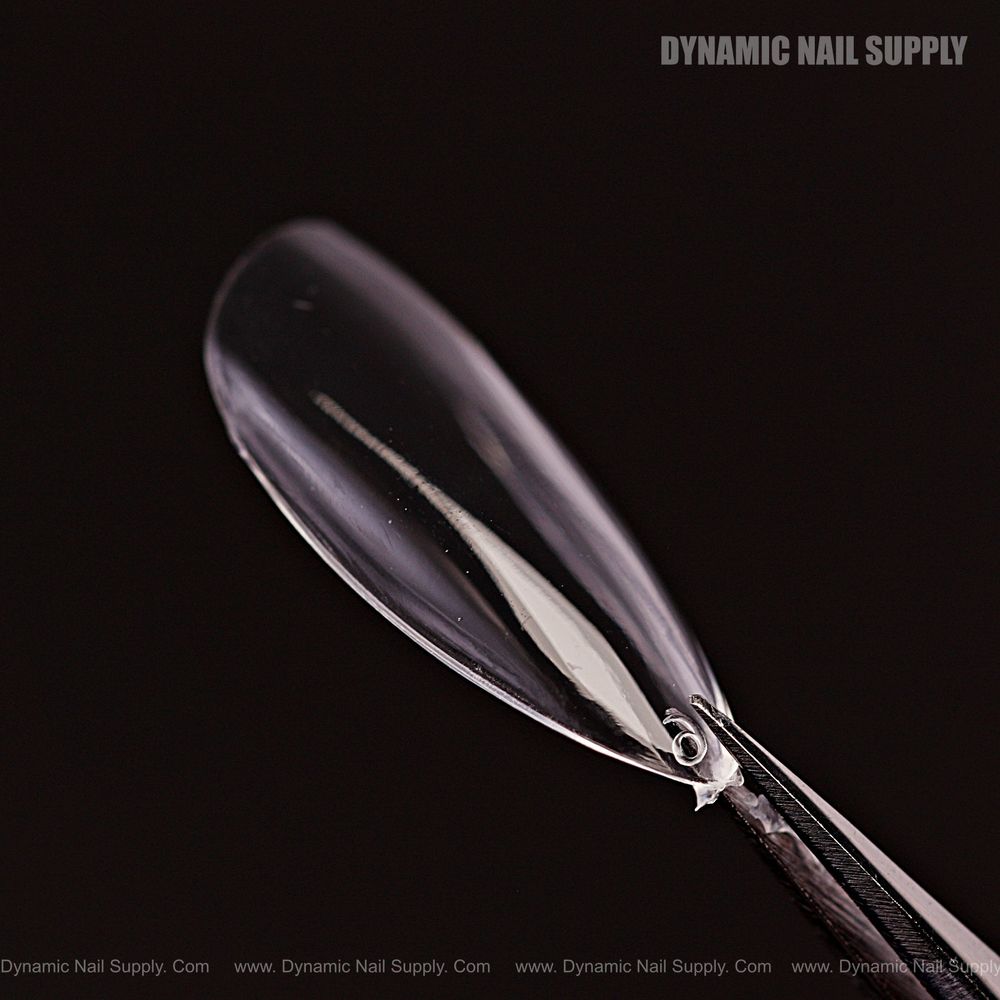
Work in a well-ventilated area and keep cyanoacrylate glues away from skin—if bridge contact occurs, do not forcibly peel; soak and file gently. For gels, follow lamp cure times and avoid prolonged skin contact with uncured gels. Store the pink compartment box and adhesives away from heat and direct sunlight and keep primers tightly closed to prevent contamination.
FAQ
Q: Which lasts longer, glue or gel-bond?
A: Gel-bonding generally offers more flexible retention on soft-gel tips for multi-week wear; thin glue is faster but can be more brittle under stress.
Q: Does the clear tip show glue lines?
A: Visible lines are reduced by using thin, even glue beads or gel-bonding layered thinly and curing properly; always seat at an angle to push air out.
Q: Can we remove these tips without damage?
A: Removal technique depends on the adhesive: soak-off gels require appropriate remover and gentle filing; glue-removal needs careful soaking and lifting to protect the natural nail.
When to rebook and client aftercare
Recommend a check at two weeks for brides and clients with active hands; advise avoiding prolonged soaking in hot water and recommend cuticle oil to maintain nail plate flexibility. If the client reports early lifting, assess for oil or sizing issues and adjust primer or bonding method on the refill.
For hands-on technicians who want the exact set shown with a polished studio presentation, consider pairing your chosen adhesive method with the Natural Almond (Medium) full-cover tips stored in the translucent soft-pink box for fast size selection; note the current retail price is $12 and may change. In our workflow the clear almond tip and the right adhesive for soft-gel tips produce the clean, bridal-ready look clients expect.
Checklist recap
- Match pre-numbered sizes from the pink compartment box.
- Buff and cleanse; use dehydrator and primer only when needed.
- Choose thin glue for speed or gel-bond for longer retention.
- Seat tips at 45° and evacuate air before curing.
- Finish with careful shaping and a glossy topcoat; schedule a two-week check.
We recommend testing your preferred adhesive method on a single Full Cover Almond Tips set before a wedding day to confirm retention and finish, and this is why Full Cover Almond Tips.