
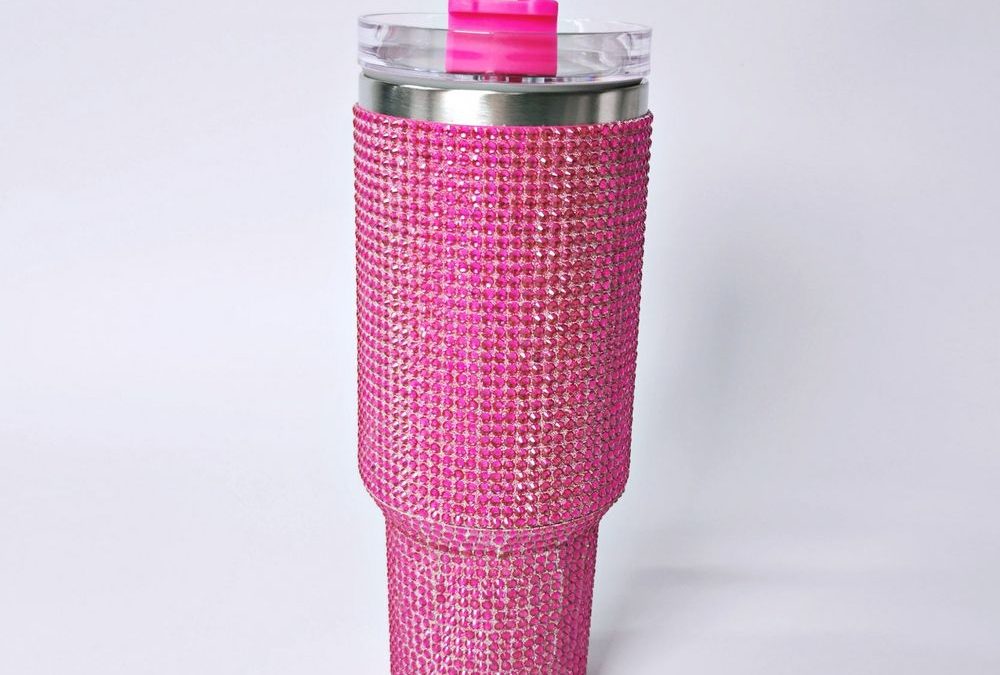
Quick answer: we create bold hot pink coffin nails with dense micro-pink rhinestone accents using a staged workflow that keeps hygiene and client comfort first, and we use the (Pink Rhinestone) Stainless Steel Tumbler as a matching display prop and take-home glam accessory to elevate presentation.
Why pink rhinestone coffin nails work for a home-based bridal or party service
We find that the combination of a defined coffin silhouette and an all-over hot/fuchsia pink palette reads clean and unmistakably bridal-party ready when balanced with precise placement of small faceted rhinestones, and in a small home studio this approach gives a high-impact result without requiring a vast inventory of specialty materials. The coffin shape provides a strong canvas for ombré fades, single-stone placements, and clustered accents near the cuticle, all of which coordinate visually with dense micro-rhinestone textures. When executed with careful sanitation, these looks are salon-appropriate yet achievable for nail students and beginners building a bridal portfolio.
What we set up: ergonomics, hygiene, supplies, and the matching display item
For a home-based service the workspace must be compact but deliberate: a clean desk with a washable mat, single-use toe separators and lint-free wipes on hand, and separate trays for used and unused implements. Gather a quality coffin tip set or forms, a bright fuchsia gel or builder system you trust for shape and durability, a selection of micro-faceted pink rhinestones in two highlight tones, a fine wax pick for placement, a clear gel topcoat with strong adhesion, and a lamp suitable for your gel system. Maintain a fresh supply of single-use files and a disposable dust brush for each client to reduce cross-contamination worries.
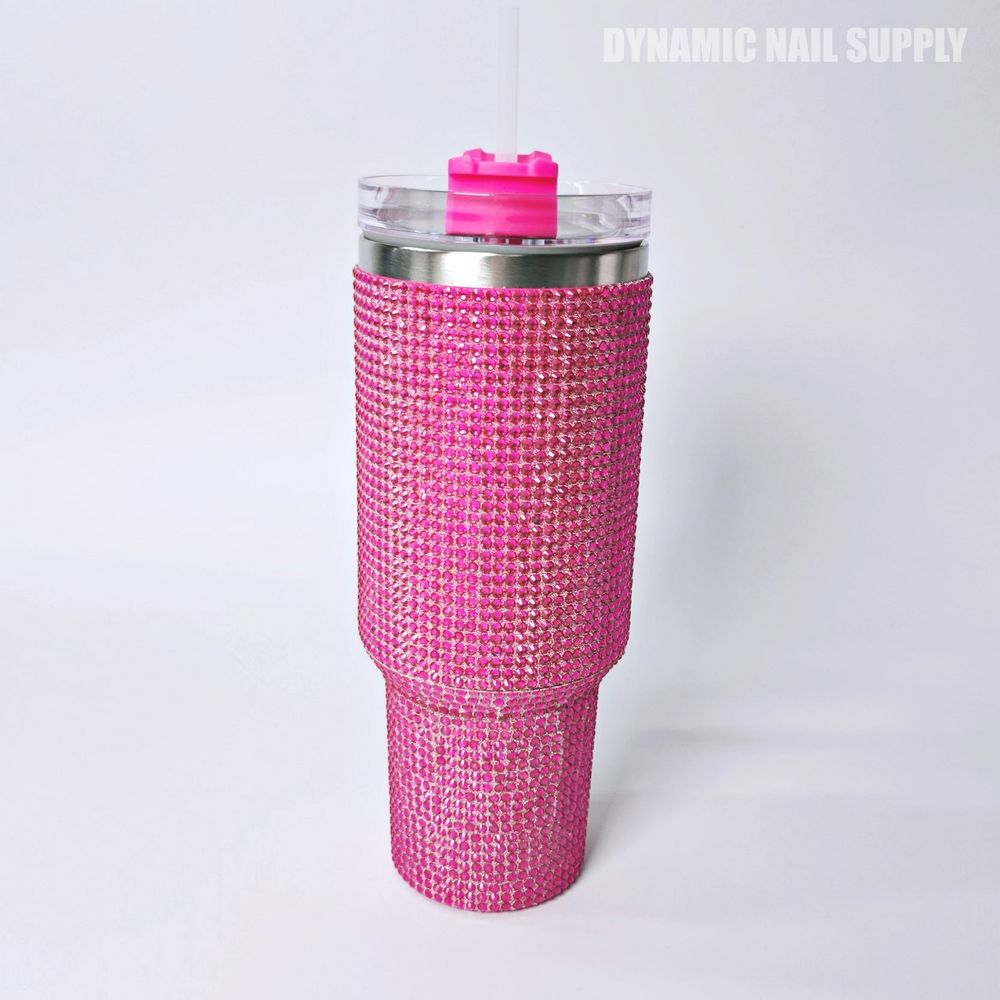
To present finished work and offer a small branded gift we arrange a glam display area: finished nails on a hand model or practice finger stand beside a bold pink accent prop. A matching beverage prop helps make the setting feel intentional; for example, we sometimes display the rhinestone-covered stainless steel tumbler to echo the micro-crystal texture and hot fuchsia palette while a client admires the finished set. The tumbler also serves as a take-home accessory when appropriate, reinforcing the service theme and making the appointment feel celebratory.
When to use the (Pink Rhinestone) Stainless Steel Tumbler as a prop and gift
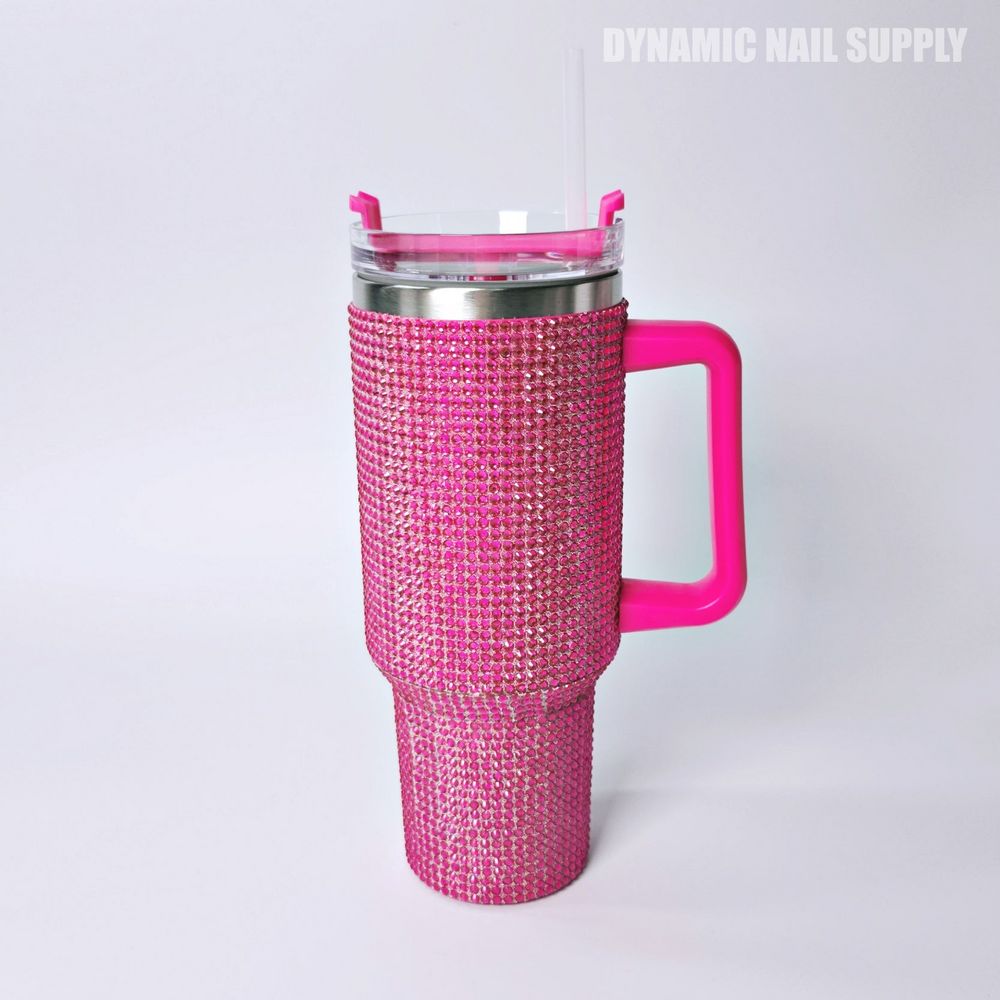
Use the tumbler at consultation and at the finish inspection: the dense, small faceted rhinestone coverage reads like a three-dimensional extension of micro-rhinestone nail accents and helps a client visualize the overall effect in real life, especially under studio lighting. In the middle of the appointment, place the tumbler where the client can see the sparkling surface and the hot pink molded handle to confirm color family and texture choices; this visual cue reduces decision revisions and speeds approval. For clients who want a take-home token, the tumbler works as a lightweight, glamorous accessory that echoes the nail design and reinforces perceived value—priced around $40, prices may change.
To plan that moment precisely we keep a clean tissue to handle the acrylic lid and straw and limit direct contact with the rhinestone face; for safety and hygiene, do not drink from the straw after display use and sanitize the stainless rim and lid between clients. If you want to offer the item as a complimentary gift, present it enclosed so the rhinestone field stays intact during transport.
What step-by-step technique we teach for pink rhinestone coffin nails
- Prep and shape: after standard manicuring and cuticle work we select coffin tips or sculpt with forms and build a durable base with your builder or hard gel, focusing on consistent apex and sidewalls to prevent premature lifting.
- Color block: apply two thin layers of the hot fuchsia polish or gel, curing between coats; for ombré use a small sponge or a brush-taper technique to blend a lighter pink highlight toward the tip or centerline depending on the specific design.
- Rhinestone planning: before placing crystals map the layout with a fine liner brush dipped in a tiny amount of builder gel; plan clusters near the cuticle, single-stone focal points, or a micro-rhinestone field along one accent nail to echo the dense texture of the tumbler.
- Placement and cure: pick up each micro-faceted rhinestone with a wax pick and set it into uncured gel or a small bead of clear adhesive designed for rhinestones; cure immediately according to the adhesive’s directions to lock stones in place while maintaining shine.
- Seal with care: apply a no-wipe glossy topcoat around but not over dense micro fields where possible; for full coverage over small crystals use a thin layer and cure, then carefully remove any tacky residue. Avoid heavy layers that can dull facet edges and reduce sparkle.
- Finish and inspection: file lightly around edges if needed, inspect adhesion, and show the client under natural and studio light so they can confirm the facet play and color match to the display prop.
We sometimes stage a final photo with the finished nails beside the rhinestone prop to document the look for portfolios and to make it easier for clients to share their style on social platforms—the reflective surface of the acrylic lid and the silver rim pair especially well with metallic accents in the manicure.
To see how we use the item in a display and as a take-home accessory in a studio setup, consider adding the rhinestone stainless steel tumbler to your client presentation and gift table for a cohesive visual story.
When to schedule and how long the service takes
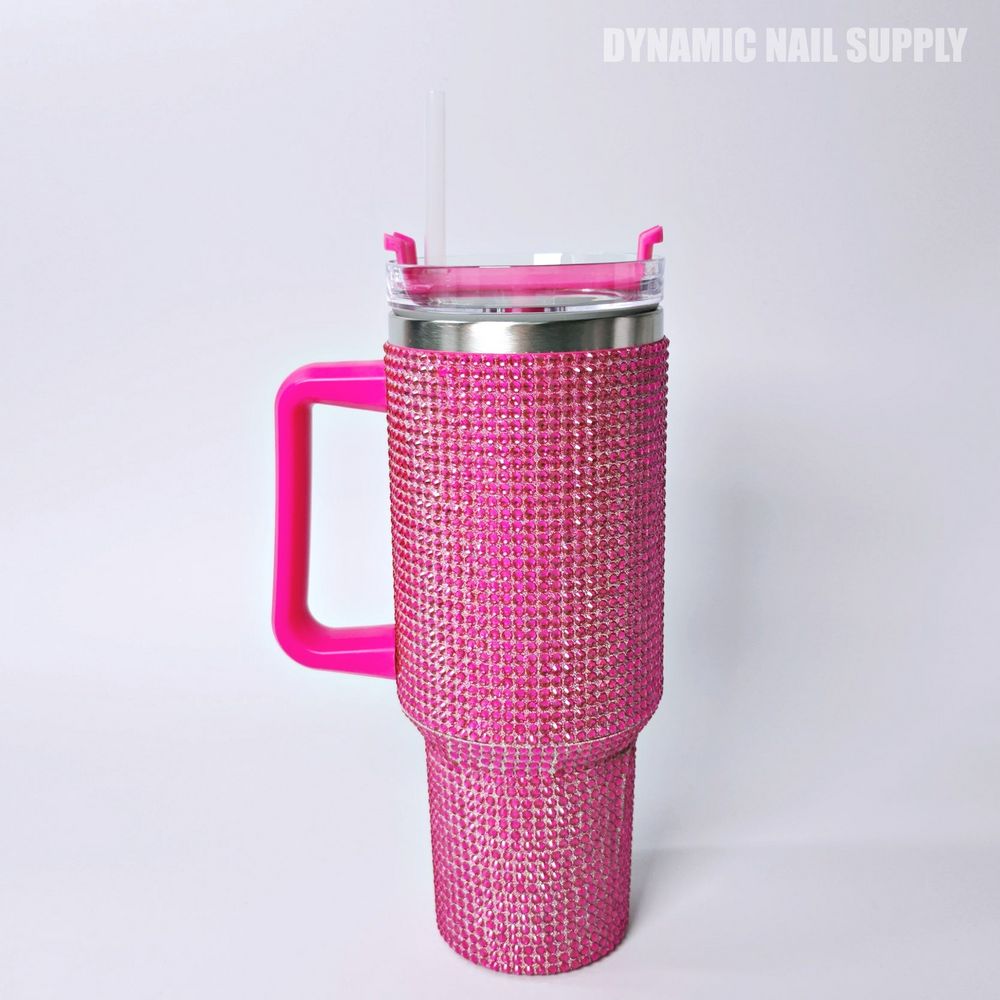
For beginners allocating 90 to 120 minutes per full set is realistic; that window allows for careful prep, building a stable structure, precise rhinestone placement, and staged presentation time with the display prop. Reserve extra time if you plan to photograph the set with the tumbler or include the tumbler as part of a small gift package so you can wrap it carefully without jostling the rhinestone field.
FAQ
- Can beginners place micro-rhinestones neatly? Yes. With a wax pick, consistent adhesive beads, and short focused sessions most beginners achieve uniform clusters after a few practice sets.
- Is the tumbler suitable for client gifts? The tumbler makes a high-visual-value gift when handled as a decorative take-home accessory; for hygiene, avoid using the displayed straw or lid unless properly sanitized.
- How do we protect dense rhinestone fields during transport? Wrap the tumbler in soft tissue and place it in a box to prevent abrasion; for nails, suggest a short ‘‘no-water’’ window immediately after service if heavy topcoats were used so adhesives finish curing fully.
We recommend sensible handling: avoid rough impact against hard edges that could dislodge tiny crystals, and clean the stainless rim and lid between client uses with a mild sanitizer while keeping the rhinestone surface dry.
Checklist recap
- Workspace: washable mat, single-use implements, separate trays
- Supplies: coffin tips/forms, builder/gel system, micro pink rhinestones, wax pick, no-wipe topcoat
- Tumbler use: display during consultation, present at inspection, offer as take-home accessory if desired
- Timing: allow 90–120 minutes for full service
- Hygiene: sanitize rim/lid, avoid drinking from displayed straw, wrap for transport